Rimstriping roll with applicator
Rimstriping roll with applicator
From €16,95
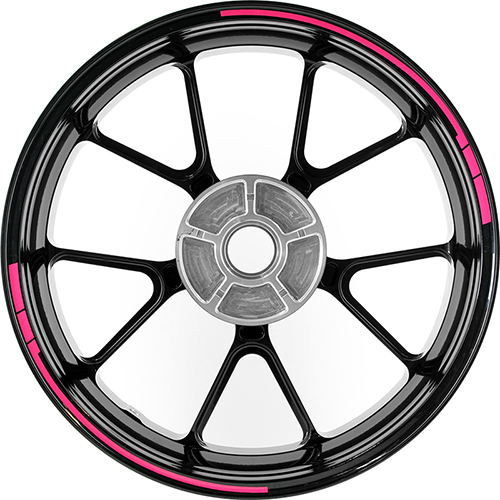
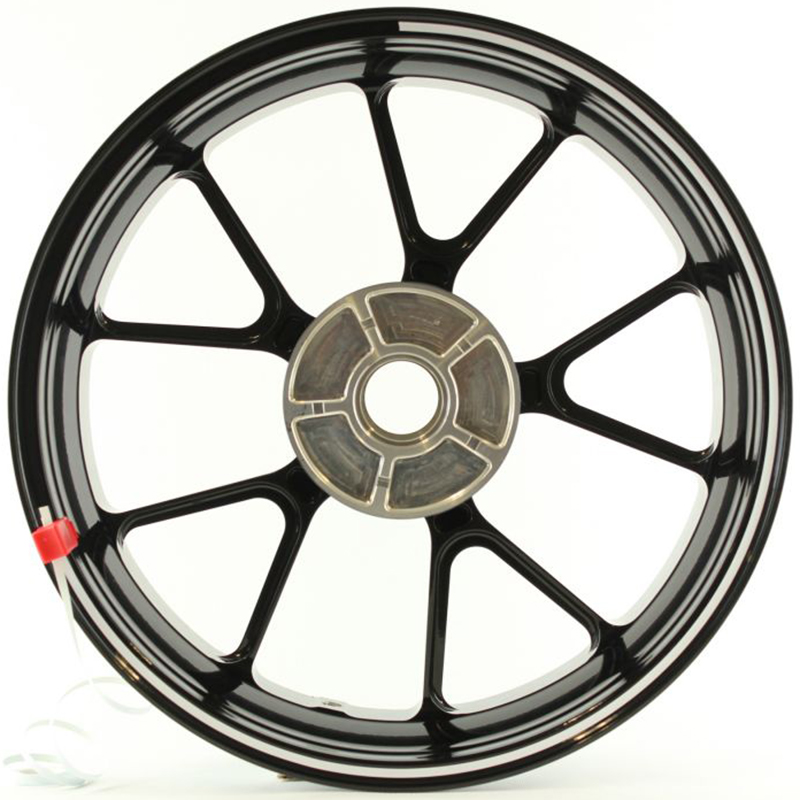
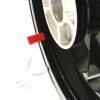
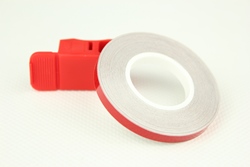
This wheel striping comes with an applicator. This applicator makes placing the rim stripes a whole lot easier!
The applicator can be used on any size rim, the length of the sticker roll is enough to cover a 20 inch wheel. This set provides for two rims (both sides), and therefore provides your entire motorcycle with rim striping.
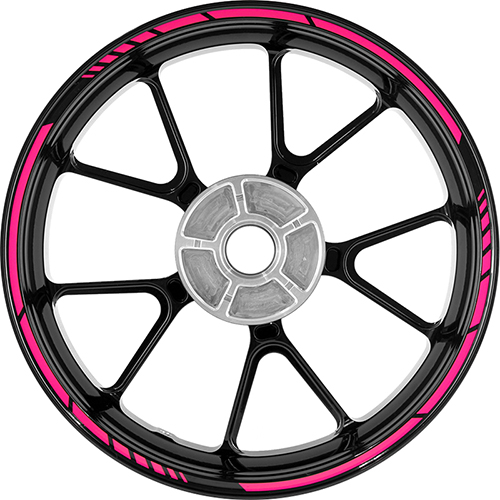
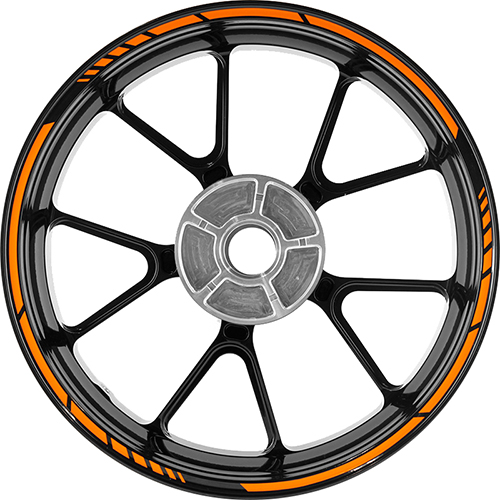
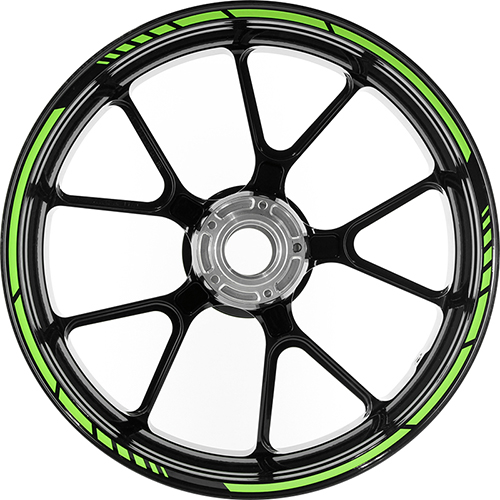
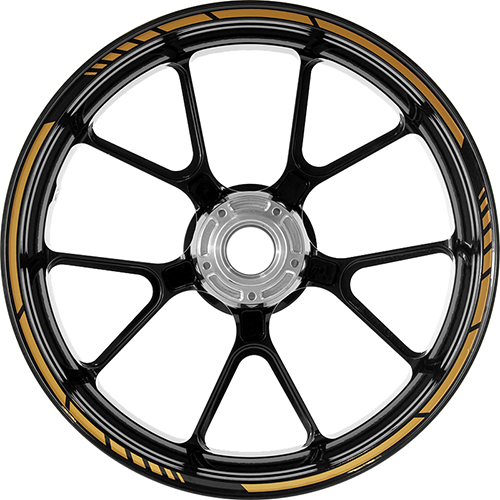
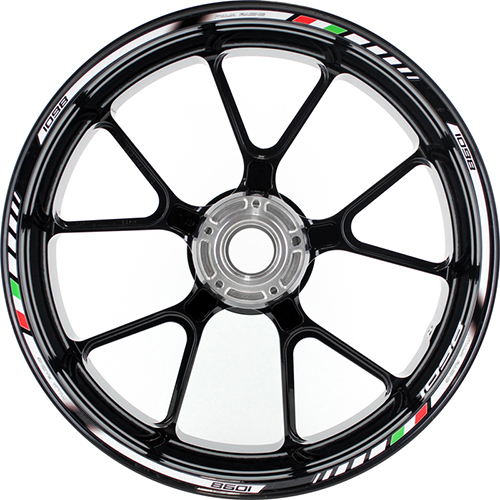
You can order rim striping in two widths: 5mm or 7mm. If you prefer a size or color that is not available in this kit, check out our curved rimstriping. Do you have any questions about this product? Please let us know!
WHAT COMES WITH THIS SET RIM STRIPING APPLICATOR?
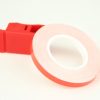
One set rimstriping applicator provides rim stripes for both sides of both wheels with a maximum rim size of 20 inch. Each set comes with a 5mm or 7mm applicator, depending on the rim stripe size of your choice. Each set contains a rim stripe roll and an applicator.
Application instructions
If you have any questions about the application of the rimstriping applicator, please contact us.
PREPARATIONAlswys make sure that the rim edge where you paiste the sticker is clean and free of grease. Make sure that the wheels can rotate freely, for example through placing the motorcycle on paddock stands. |
|||
THE SETEach set comes with a 5mm or 7mm applicator, depending on the rim stripe size of your choice. Each set contains a rim stripe roll and an applicator. |
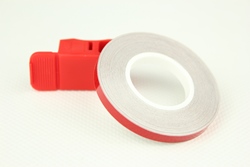 |
||
STEP 1Cut enough striping of the role to cover one rim side. For this 17 inch rims this is 140 cm, for 20 inch rims this is 170 á 175 cm. |
|
||
STEP 2Push the striping through the applicator and remove the paper from the striping at the start. Bend up the striping, and pull it back over the applicator. |
 |
||
STEP 3Press the applicator to the edge or the rim and apply the striping to the rim by either holding the applicator still and rotating the wheels by hand, or by pressing the applicator along the edge of the rim. |
 |
||
STEP 4When you completed one rotation, cut of the striping. Both applying the ends of the striping close to each other and applying one end over the other is possible. |
 |
||
STEP 5Repeat the previous steps on the other three rim sides. |
 |
||
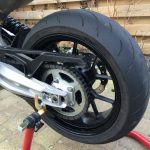
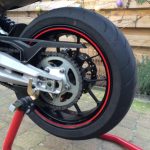
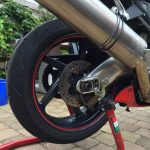
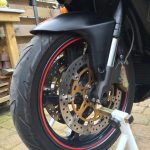
STEP 6Take a few steps back, look at your motorcycle and enjoy the fantastic result! |
|||
WARNING!
The glue of the sticker is not directly cured and needs about 24 hours to attach to the rim.
TIP
To improve adhesion: directly after applying the striping, shortly heat it with a heat gun or hair dryer.












Reviews
There are no reviews yet.